Designing our first home
2014 has been entirely about finding the perfect humble abode, setting up and settling in for u. So this post is for all of you out there who are first time home owners or anyone looking to renovate their current space.
What do you do after all the boring paper work is done (phew!), you’ve got the keys in hand and you’re ready to move in? How do you turn an empty shell into what will become your home? Here’s a guide based on my personal experience:
1) House survey
I cannot stress how important this step is. Imagine you find the perfect bed. It gets delivered after weeks of waiting (because it’s the fancy kind as you’ve finally graduated from Ikea!)…but once it’s all set up you notice it’s just a few inches too long and you can’t fully open your closet door…yikes! The adage “measure twice, cut once” can be applied here.
As soon as the paperwork was done I dragged my husband to the house with both a normal measuring tape as well as a laser measuring tape (the laser isn’t a necessity but if you’re measuring a very large or tall space, it makes the job quicker). We used the laser to measure all the ceiling heights and the length/width for each room. It took us a little over an hour and the husband was royally bored that I was measuring every corner but it was time well spent. You will see why in the next step…

2) Draw up your findings
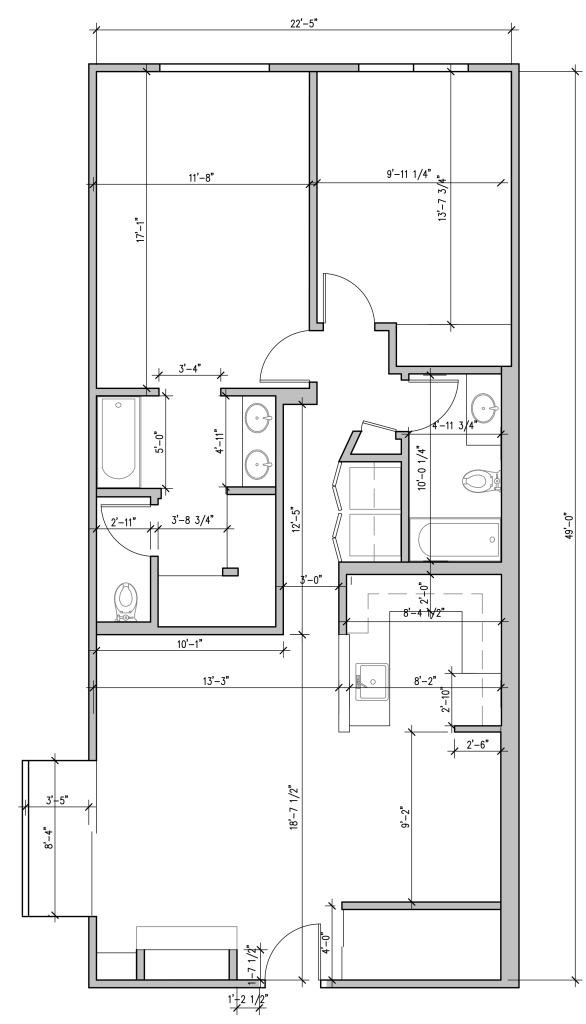
I used AutoCAD to draw up a plan of the entire house as I’m familiar with the software on a professional level. If you’re not familiar with AutoCAD or can't access it, you can use a variety of free online tools which allow you to create 2D/3D floor plans/models to plan your space. Examples include Room Sketcher, Autodesk Homestyler and SmartDraw just to name a few. A lot of other professional software out there such as SketchUp allow you to download a trial version which can be used for this as well.
Below you can see the first floor plan I drew up showing all the measurements of our apartment:
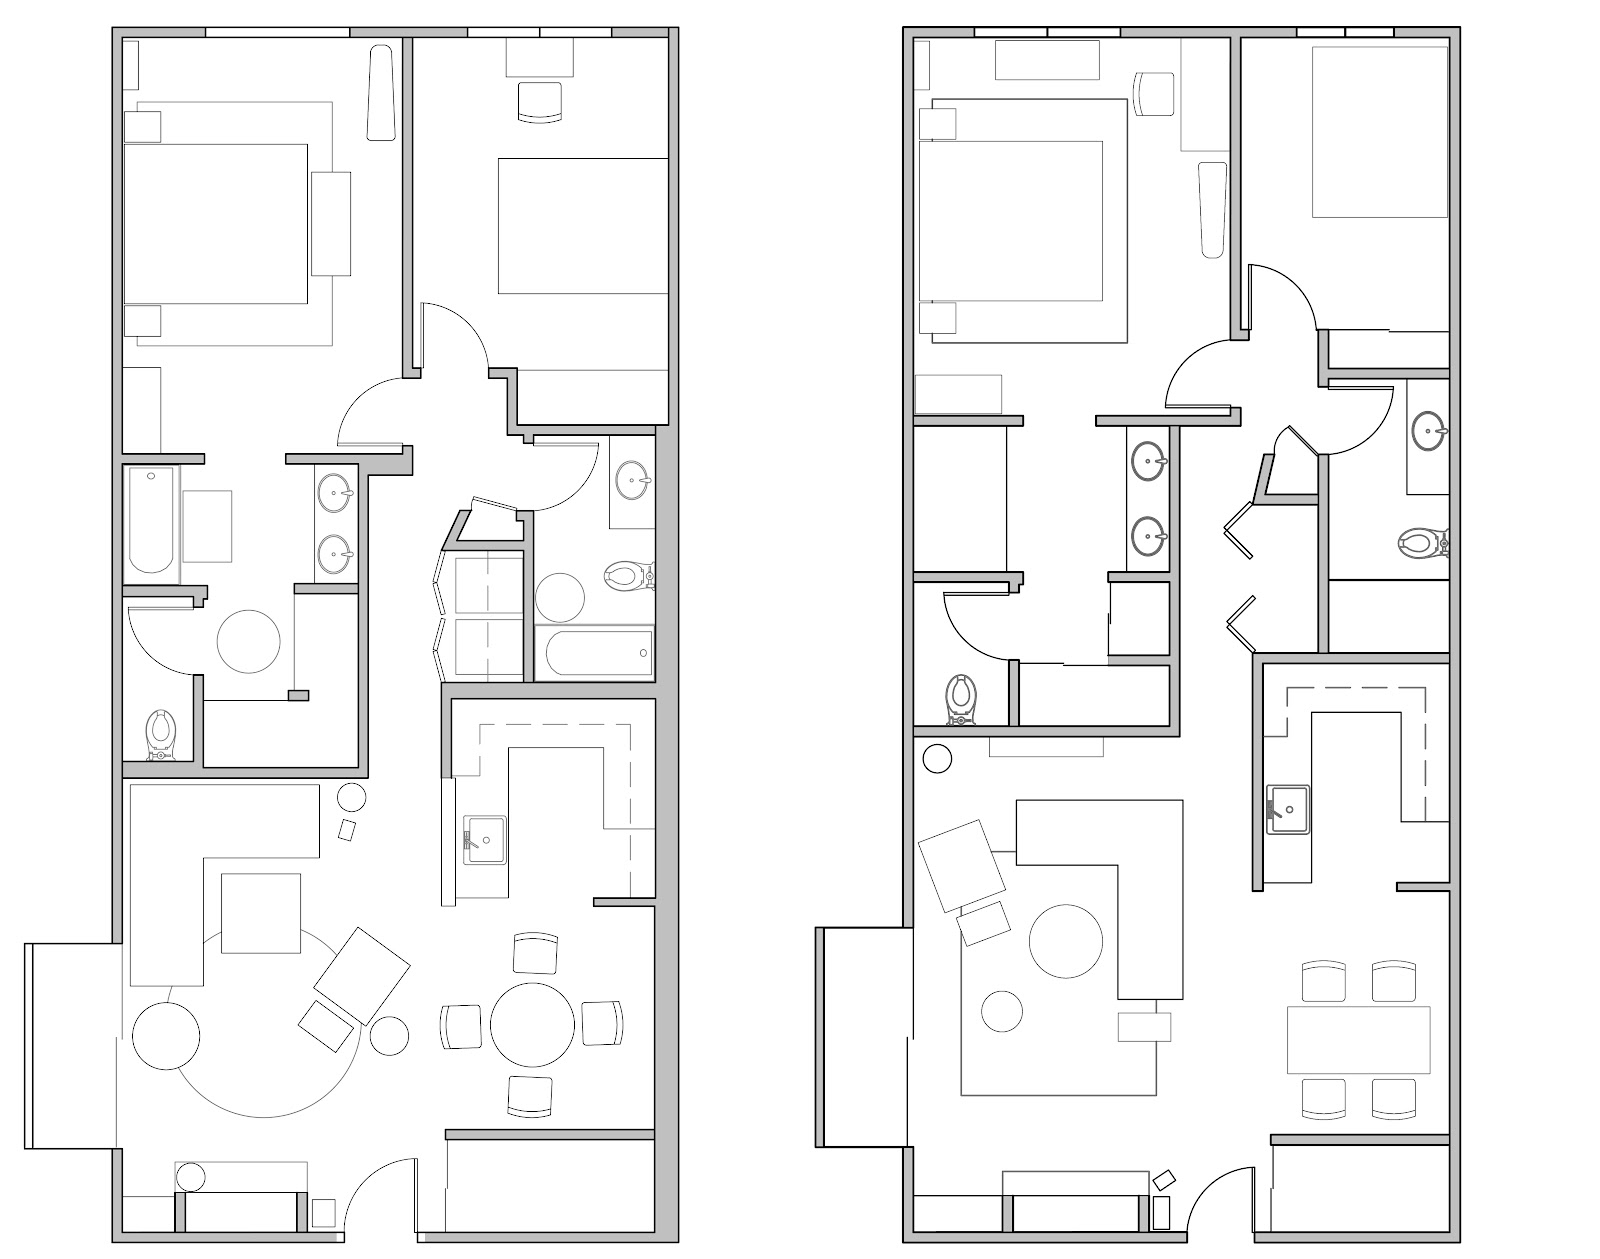
After this stage I started to populate the plan with furniture, rugs and floor lamps in all the rooms. I played around with various configurations, two of which are shown below:
Finally I landed on this version:
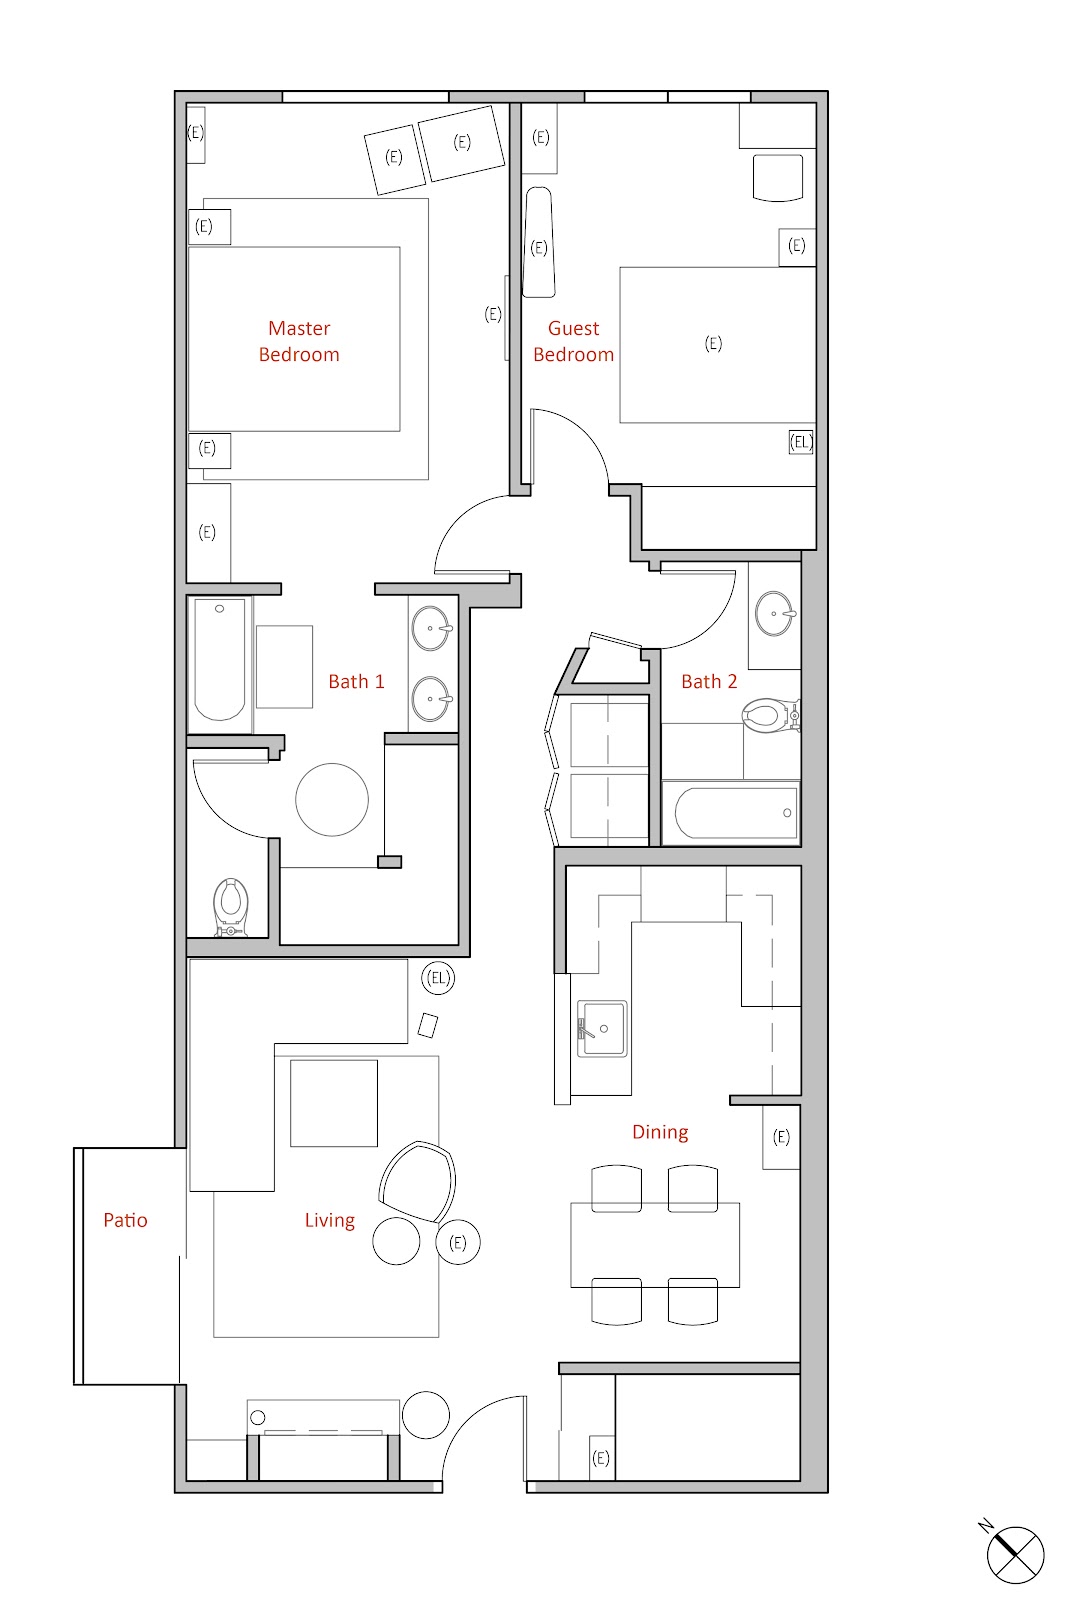
This took weeks of tweaking and changing my mind about what we wanted to buy which was frustrating at times. But it was extremely helpful to have something drawn to take with us as we shopped so that even if we changed our mind in the store, we had an idea of what sizes/shapes would fit best in our space.
I’m happy with what we finally ended up purchasing and it’s definitely better to redraw on paper many times over than spending the money on something you won’t like or end up returning.
3) Research & planning
This was probably the longest step of my design process. I created a Pinterest board much in advance and started to dump all of the items that caught my eye from both physical stores and online sources. I had over 100 items on my board – furniture, lamps, rugs, vases to little organization baskets for under counter cabinets! I added the price of each item as I pinned them so I could make a budget.
I focused on the big furniture items first – Sofa, bed, coffee and dining tables. With these narrowed down, it was easier for me to select smaller furniture items - poufs, chairs, side tables. Selecting the big items in terms of size/price first (like furniture and appliances) also gives you a sense of how much money you’ll have left for accessories, art and other stuff you might want!

4) Selecting paint
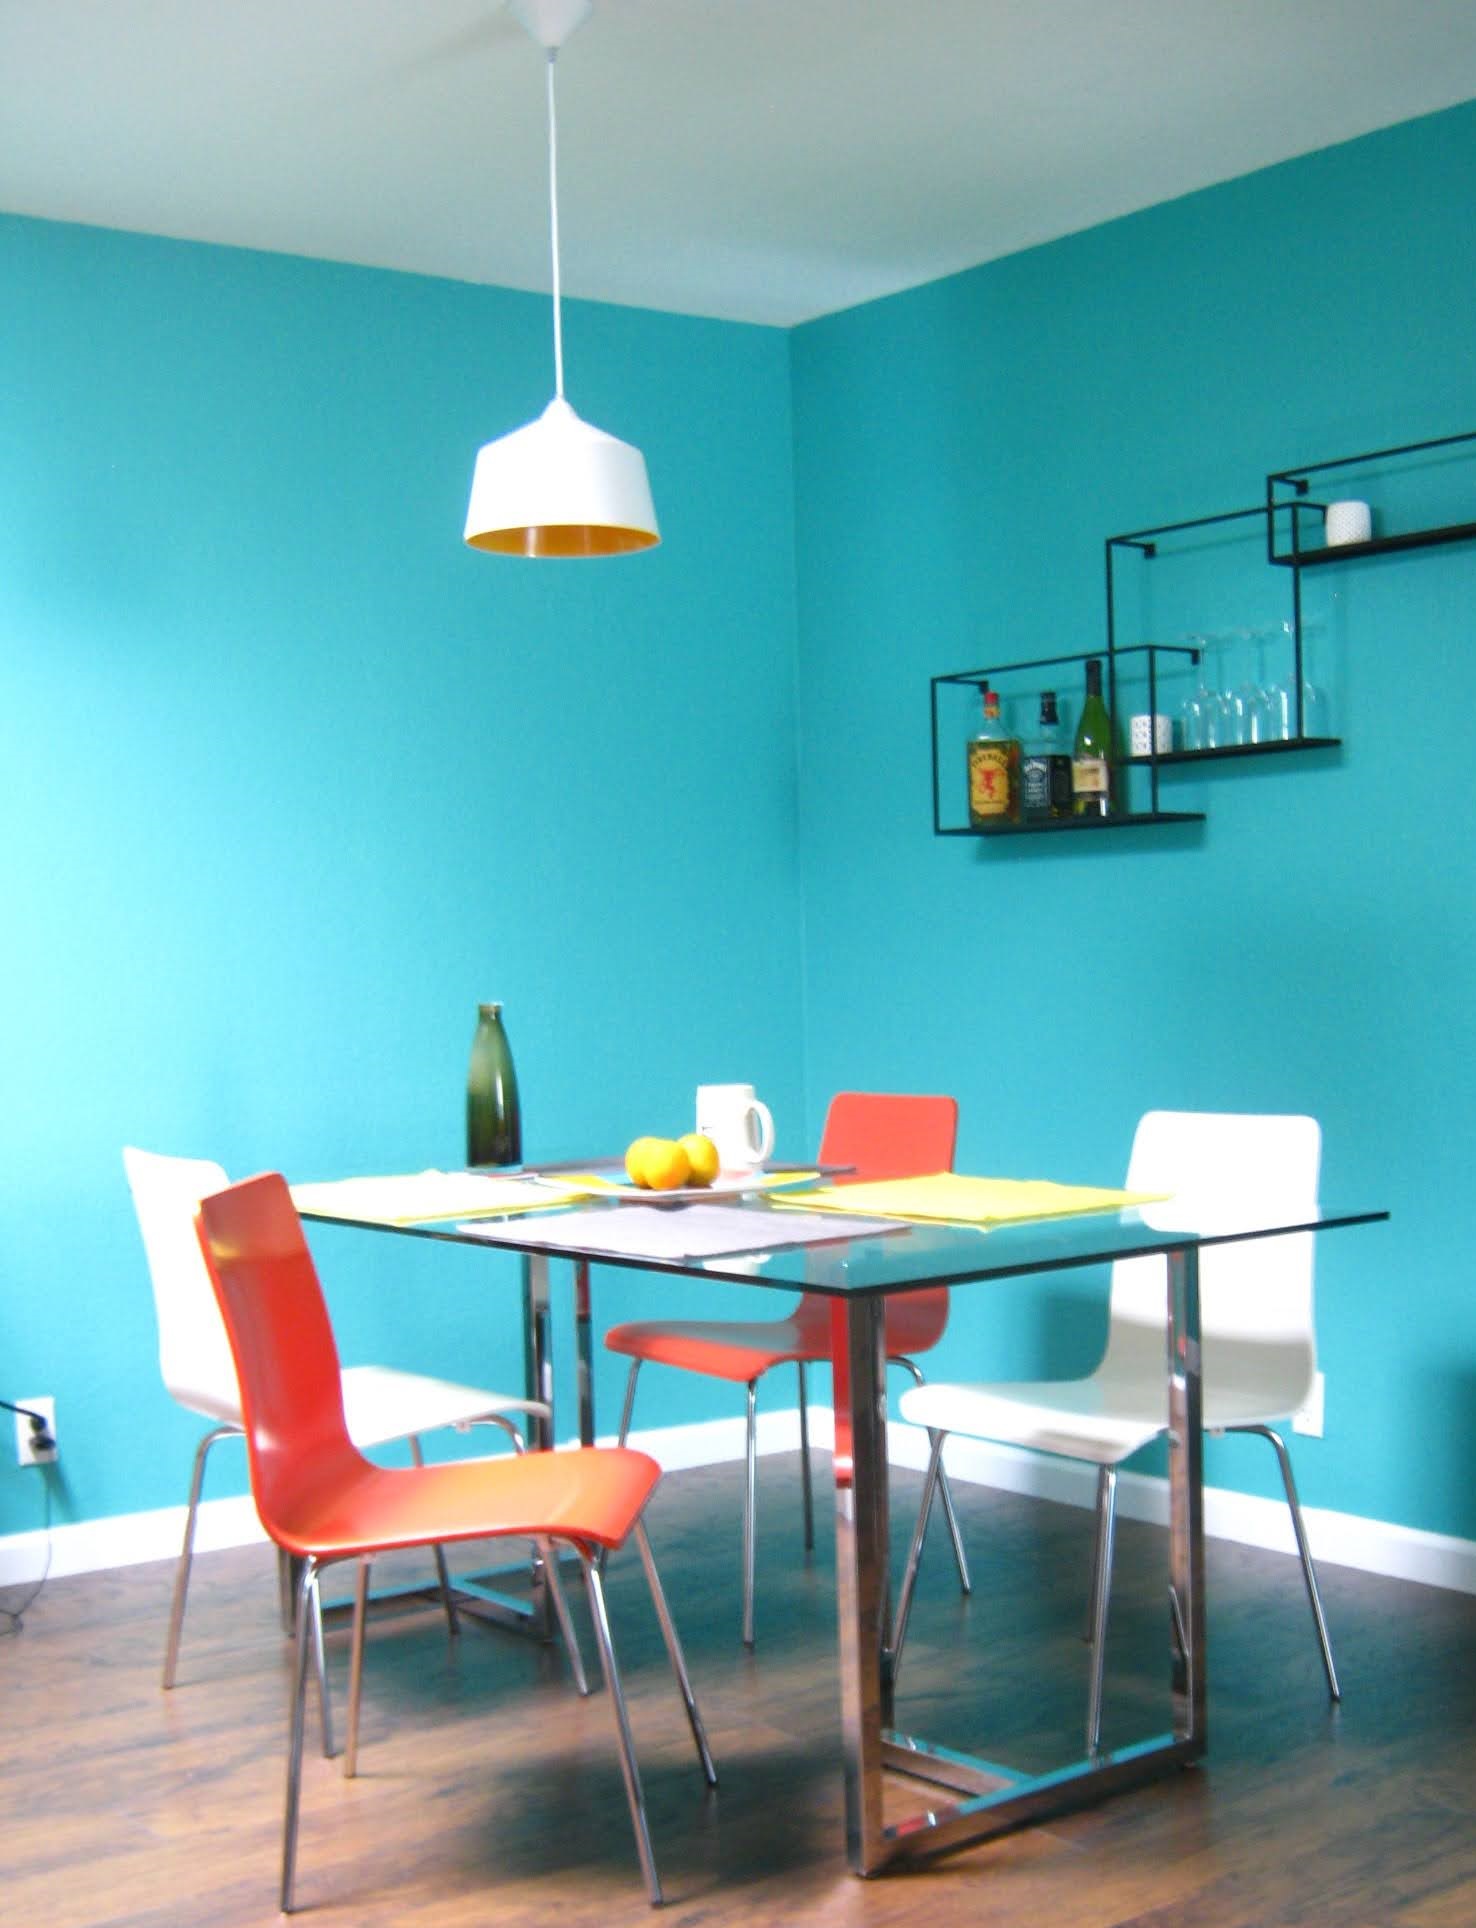
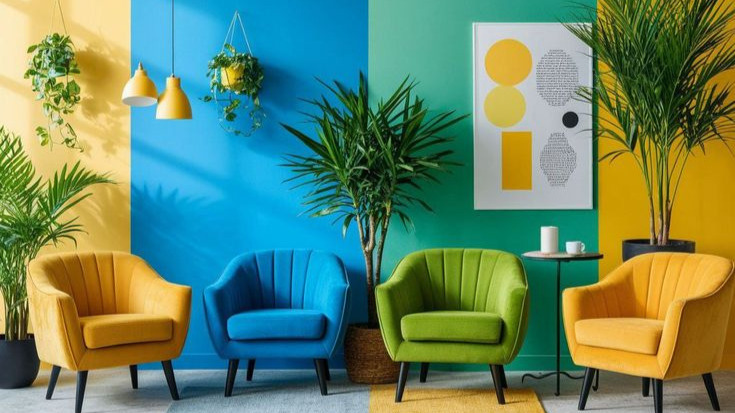
We both love bright hues, so this was an important step in our process. We wanted to see a bright color as soon as we walked in so when I saw the image below at A Beautiful Mess, I knew this color was the perfect blend of our love for the bright and beachy! I chose something inspired by this color but with a little more green in it (Benjamin Moore's – Capri Seas).

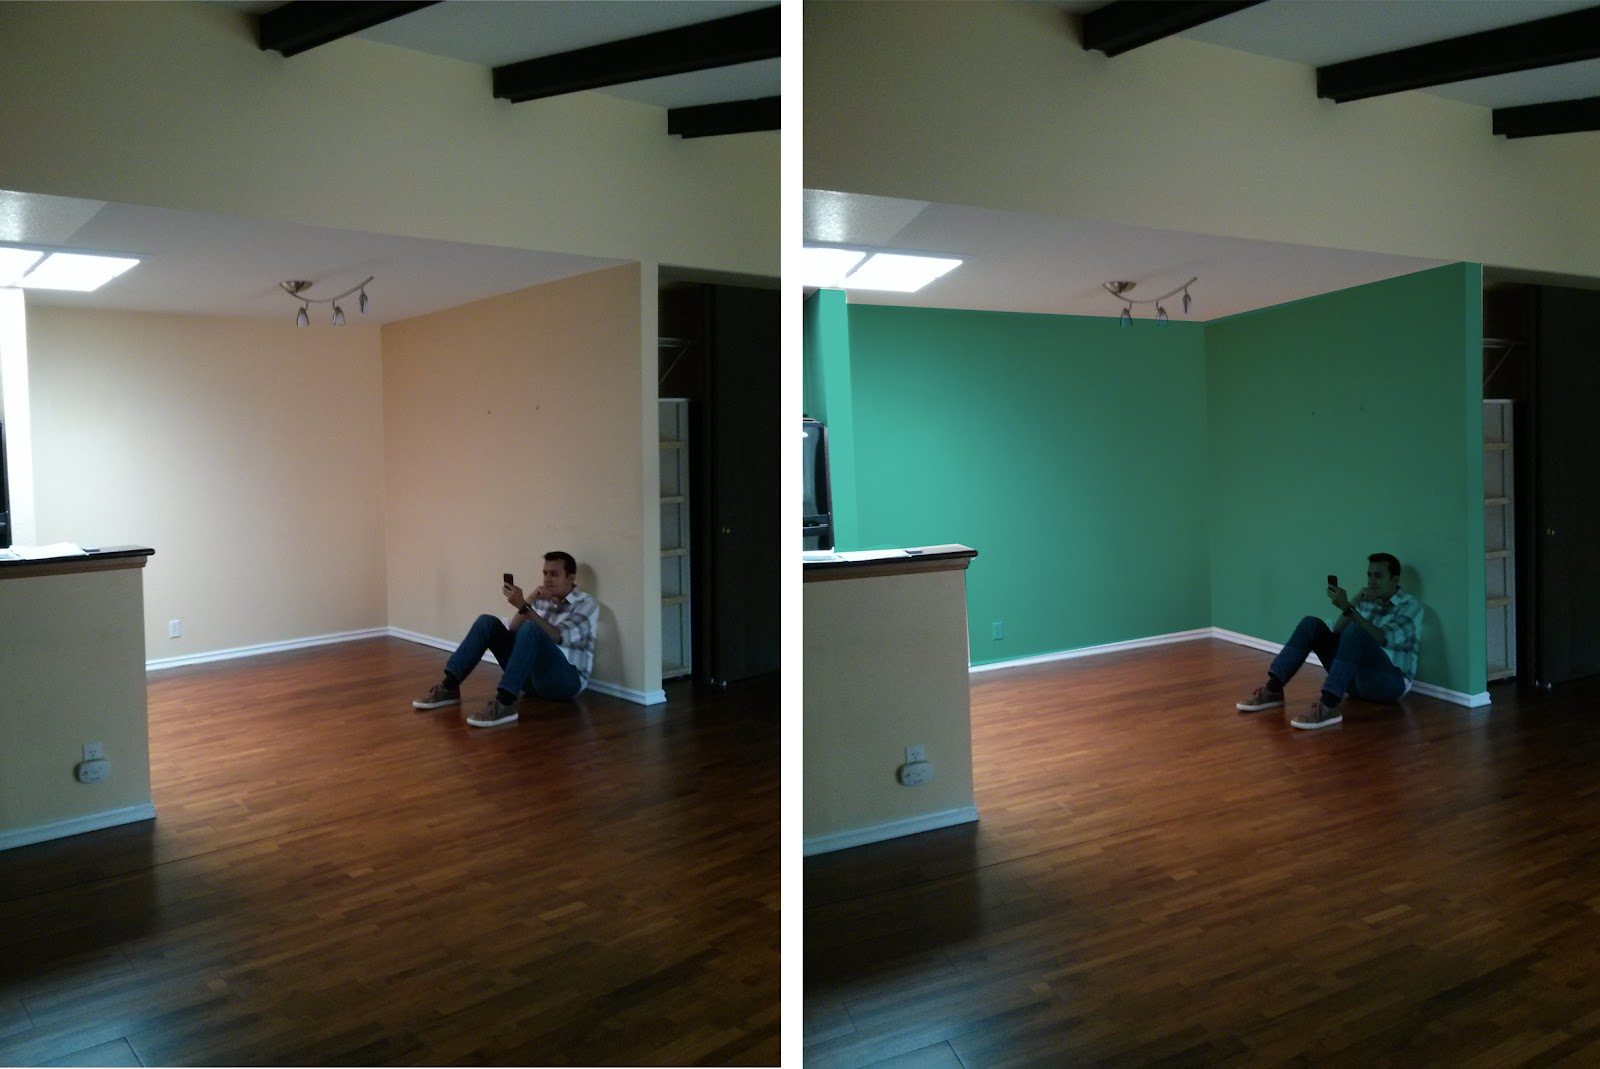
Feeling a little restless about how it might turn out in the end, I put the paint color to test by clicking a photo of our living/dining area and applying the selected paint color in Photoshop. We were pleased with this little test and finalized this color! Another common way to do this is to buy a small paint sample from your hardware store, apply it to a small portion of your wall and live with it for a few days to see if you’re happy with it.

I wanted the bedrooms to be a little muted and cozy so I went for a shade of navy for only the back wall (Benjamin Moore – Symphony Blue) and left the rest of the space white (Benjamin Moore – White Diamond). For the bathrooms we picked a very bright yellow (Benjamin Moore – Sun Porch) at the hubby’s request who wanted to be in a room as bright as sunshine!

Once we decided on all the paints I did a quick “paint diagram” showing the extent of each paint color for both ours and the contractor’s reference so there’s no room for mistakes:

In the next post I’ll share our experience on finding a contractor, dealing with some renovation mishaps and post photos of our finished home! Hope this post has been helpful in breaking down the steps to what may feel like a daunting task. Feel free to ask me questions in the comments or share any other thoughts.
.png)
.png)